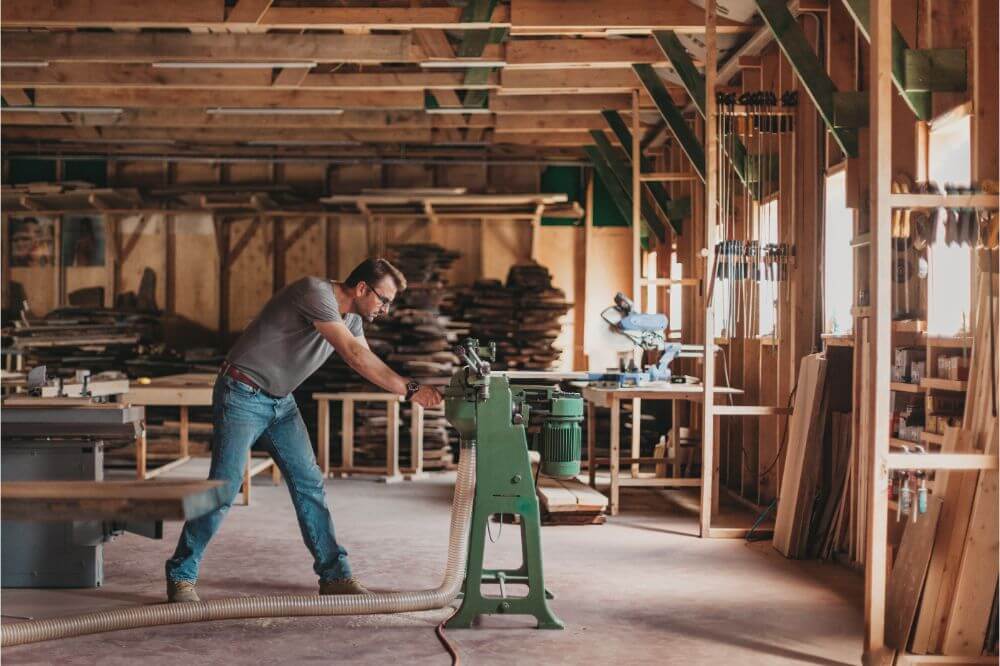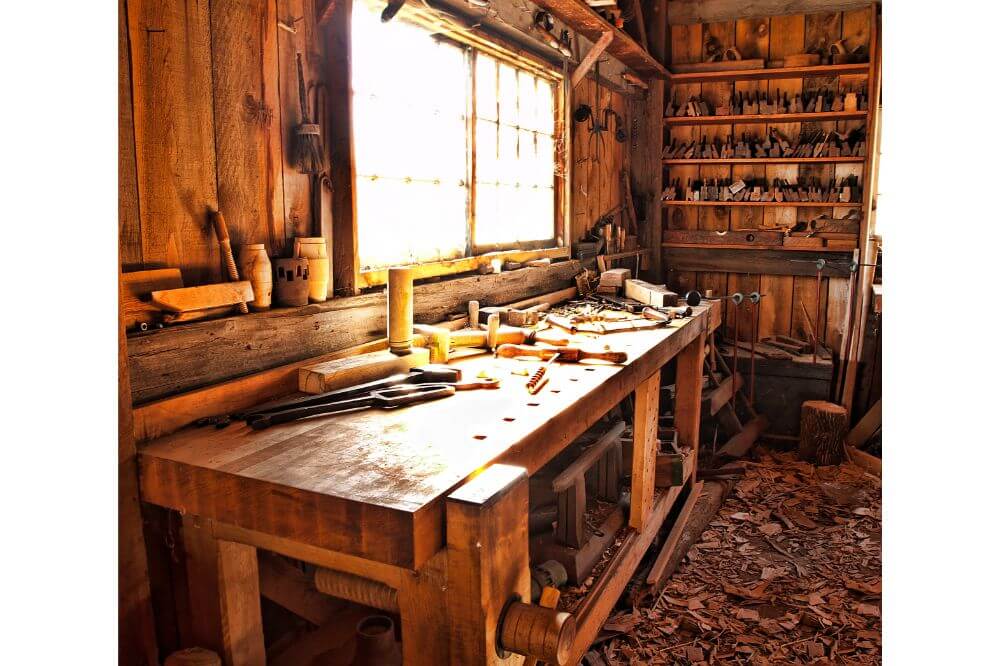
If you have decided that you are going to set up your very own woodworking shop, hopefully, you will already have realized that there is a significant amount of planning required. This planning covers several aspects like how much storage you are going to create, which large tools you are going have, the utilities such as electricity and water supplies, and probably the most important of all, the floor plan of your woodworking shop.
The fact is that until you actually have your floor plan layout and have checked that everything you want to include in it, can be, then there isn’t much progress you can make on any of the other tasks. For example, you will want to hold off buying that large table saw until the floor plan confirms it will fit.
In this article, we are going to go through some of the most important factors you need to take account of when creating your floor plan and give you some tips on how you can make the floor plan for your woodworking shop, the best it can be.
Contents
Getting Started
While you may have lots of great ideas for your woodworking shop, the only way to plan it properly is to do so on paper. By paper, we do not mean scraps of paper with scribbled notes, but a properly drawn out plan of your intended workspace.
Ideally, you want some graph paper or paper with squared lines that you can use to neatly draw the outline of your workshop. Scale the dimensions carefully so that what you have outlined is exactly proportional to the actual space you have.
Once you have this drawn you can then start to add the tools, workbenches and storage units that you plan to have in your workshop. To represent these properly you will need their dimensions. Then, if your drawing skills allow, you can carefully draw the outline of them on a separate piece of paper and cut them out.
Alternatively, you can search online for downloadable templates that have pre-drawn cutouts you can use for most tools.
The idea of the cutouts is that you can place them on your floor plan in various positions in order to see which is going to be the most applicable. Bear in mind that where you place tools which require power, needs to take account of where the power sockets are. You will also need to ensure that the positioning of these powered tools does not cause there to be any trailing power cables on the floor.
Small Floor Plans
Many of the principles in relation to making your floor plan apply whether you have lots of space available or very little space. The main difference between them is that with loads of room you have more options in terms of how you can lay out your woodworking shop, and also the number of tools, workstations, and storage you can include is greater.
Often the fact that they have very little space stops a lot of woodworking enthusiasts from even planning a woodshop, but that should not be the case. Of course, there will be limitations, but notwithstanding that, there is still plenty of scope for having a woodworking shop in a small area.

One of the best resources available for exactly this scenario is ‘The Ultimate Small Shop Guide.‘ It has woodworking shop floor plans and layouts for very small spaces, with loads of very clever space-saving tricks to help maximize whatever the amount of space you have available.
At Your Convenience and Making Sense
When you are planning your woodworking shop floor plan, you must bear in mind that you want the final layout to be one that makes your woodworking to be as stress-free and enjoyable as possible. This applies in equal measure to whether woodworking is your job or is your hobby.
To key to this is to position everything in your workshop floor plans in such a way that makes sense. For example, placing the rack for your raw lumber at the very back of the workshop means you will have to carry it all the way there. It would be more logical to have this near the door. This is a very basic example, but the same principle should apply to everything.
Think about where you can place everything so that it is convenient for you, and that makes sense in terms of working efficiently as possible.
Some examples are small hand tools which you use often being placed next to your workbench, the miter saw which cuts raw lumber close to where it is stored, and the finishing areas where you might be using finishes that contain toxic chemicals, positioned near to ventilation such as a window. The added benefit is you’ll be able to see the finish better thanks to the natural light
Look for Potential Hazards
In the quest to make your new woodworking shop floor plans as convenient and sensible as possible, it can often be the case that the important matter of safety is overlooked, which is why we are mentioning here. A woodworking shop should be a safe place to work, so go through your floor plans carefully to ensure that nothing you are including which might present a danger.
Think about avoiding trailing cables, adequate ventilation, fire safety and prevention, nonslip flooring, sufficient lighting and also that your floor plan allows enough room for you to maneuver around large tools and equipment safely. These are just some of the things you need to think about and there are many more.
In order to be confident that your workshop is safe in relation to all of them, you should refer to ‘The Ultimate Small Shop Guide.’ It has an entire section relating to woodworking shop safety, and also covers subjects like your workshop’s electrics, ventilation, fire prevention, and trip hazards.
It also has a safety checklist which you can refer to when you are making your woodworking shop floor plan to check that it is one which ensures your safety.

