
Every woodworker has his woodwork techniques. Others had skills in cutting a piece of wood, while others had skills in carving, planing, and jointing. What’s yours?
This article will help you learn and develop your woodworking techniques with a piece of wood.
Contents
- 1 General Woodworking Project Techniques
- 2 Decorative Woodworking Project Techniques
General Woodworking Project Techniques
Wood Preparation Basic Understanding
A woodworker needs to know woodworking basics like these two things in here:
- Wood Orientation – It is important for a woodworker to know and understand how a lumber orientation can affect his woodworking project. As a woodworker, you need to know your wood’s orientation because it will influence how you will work with your woodworking projects. For example, your wood grain will affect how you will use your planer to plan and use your knife to make the wood joint.
- Moisture & Humidity – You also need to understand how moisture and humidity fluctuation affects your wood growth. For example, a piece of wood type will develop mold after exposed to a certain humidity level while others do not. A certain type of wood can create damage after being exposed to certain moisture levels while others withstand.
Failure to consider and understand these two things in woodworking will lead to problems/damage to your wood projects. Moreover, understanding your wood grain will help you decide on woodworking tools you need to use for a certain wood type.

How To Understand Wood Orientation
Woodgrain refers to the orientation of wood cell fiber. It describes the distinctive pattern of a texture that can be found on lumber once it is sawn. You can check your wood orientation by checking its wood stripes.
6 Types Of Wood Grain
Straight – It is a piece of woodwith stripes that progresses from the left end to the right end of the wood.
Irregular – Wood fiber runs in a distinctive direction on the vertical axis of the wood.
Diagonal – Wood cell fiber forms diagonally in lumber.
Spiral – The wood textures are formed in a spiral course. It is often a result of a tree that is twisted as it grows.
Interlocked – Is is a type of wood that has an aligned wood texture in opposite directions.
Wavy – A certain piece of wood with a wavy stripe fiber.
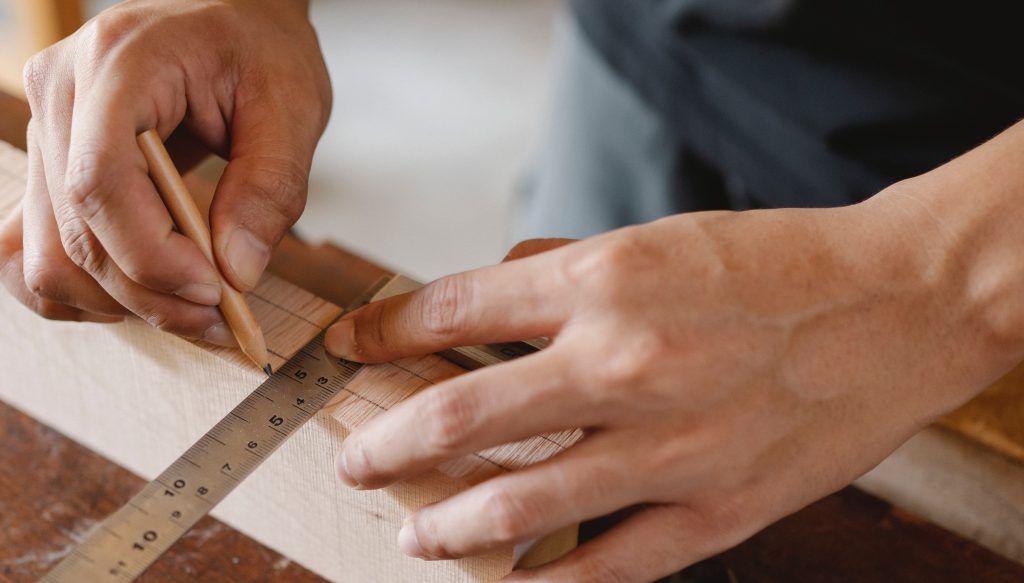
Wood Marking And Measuring
In a woodworking project, you need to measure and mark precisely and accurately to avoid wood waste and save time. With the right measuring and marking hand tools, you can ensure your precision and speed up your woodwork.
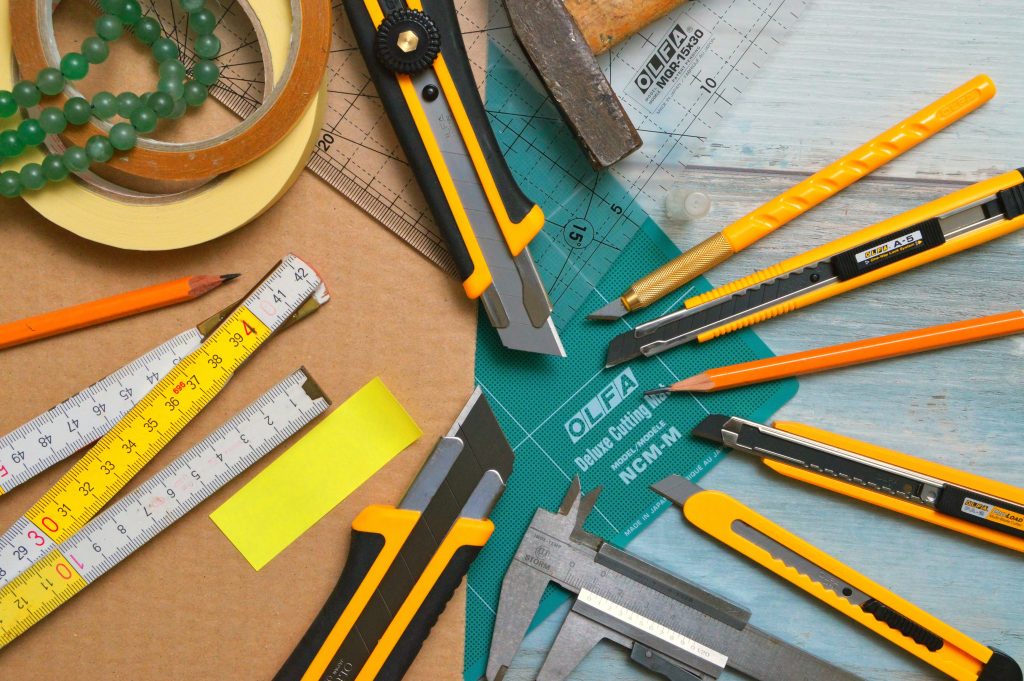
Basic Marking Tools
- Marking Pencil – Make sure that your pencil will leave a thick, easy to spot line for labeling. You can also use a 5H lead pencil for a fine line precise layout.
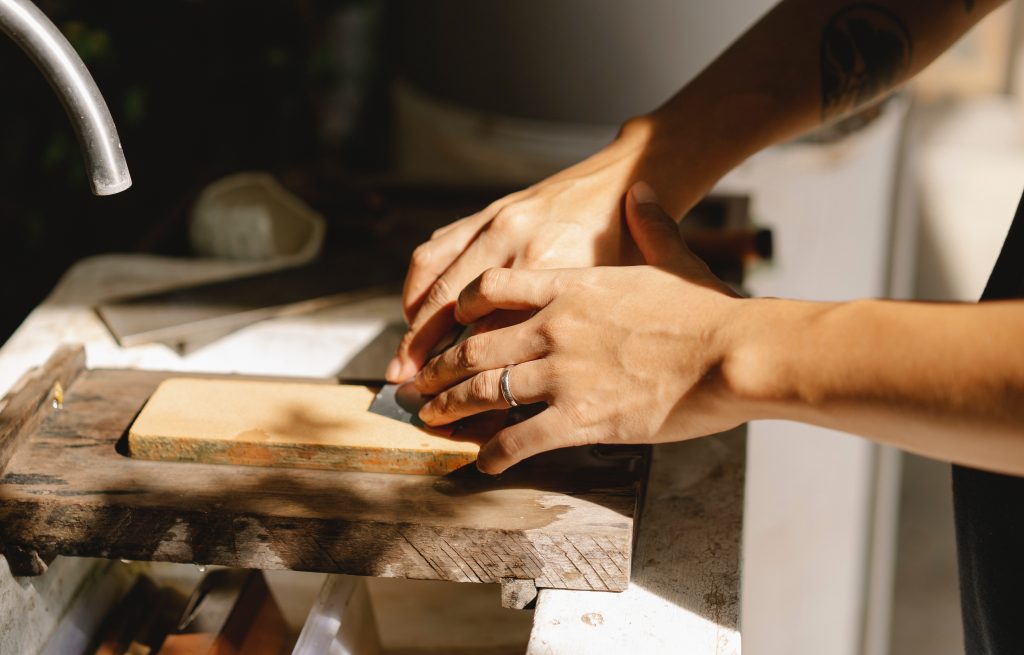
- Marking knife – It is commonly used to mark wood that is needed to be cut away. Using a knife to mark a line will create a shallow kerf on a wood that would make it easier to cut. When using a knife to draw a line, make sure to use a steel ruler as a guide.
- Mortise Gauge – Used to mark a parallel line for cutting.

Basic Measuring Tools
- Steel Ruler – Its primary purpose is to make an accurate measurement in woodworking and be used as a guide in outlining and cutting if rigid enough.
- Square – Consist of two straight edges ruler set at right angles against each other. It is used to check the correct angle of measurement, especially crosscutting. It is also used as a guide in making lines on your woodworking project before cutting and drilling.
- Bevel Gauge – Sliding bevel gauge is used to accurately measure, set, and transfer interior and exterior angles. It is an essential tool for woodworking projects like furnitures, picture frames, cabinet-making, and even installing wood tiles.
- Caliper – Precise and accurate measuring tool used to measure the distance of two edges of the wood. It can be sliding, a dialed, or a digital caliper.
- Tape Measure – One of the essential woodworking tools used to measure great length. It is a flexible ruler that can be carried in your pocket anywhere.
- Folding Ruler – It is a flexible ruler like a tape measure used to measure longer dimensions accurately.
- Miter Hook – Used to hook a retractable measuring tool into the groove of a mitered workpiece for accurate and precise measurement.
- Level – One of the hand tools used to measure the level of the surface of a woodworking project.
Marking And Measuring Tips
- Focus – Be sharp and focus on your woodworking project. Make sure you sight in a straight from one edge to another wood edge.
- Decide – From your pieces of wood, select the reference edges and measure accordingly and more often. Then, mark it accordingly with the appropriate marking tools.
- Maintain – In woodworking projects, in often have a repetitive measurement and identical layout or design. Maintain accuracy with proper orientation. Mark each projects with the same measurement and structure by indicating with a mark. For example, the mortise and tenon joints on a table leg had the same size. Then, save your time and improve accuracy by marking them together.
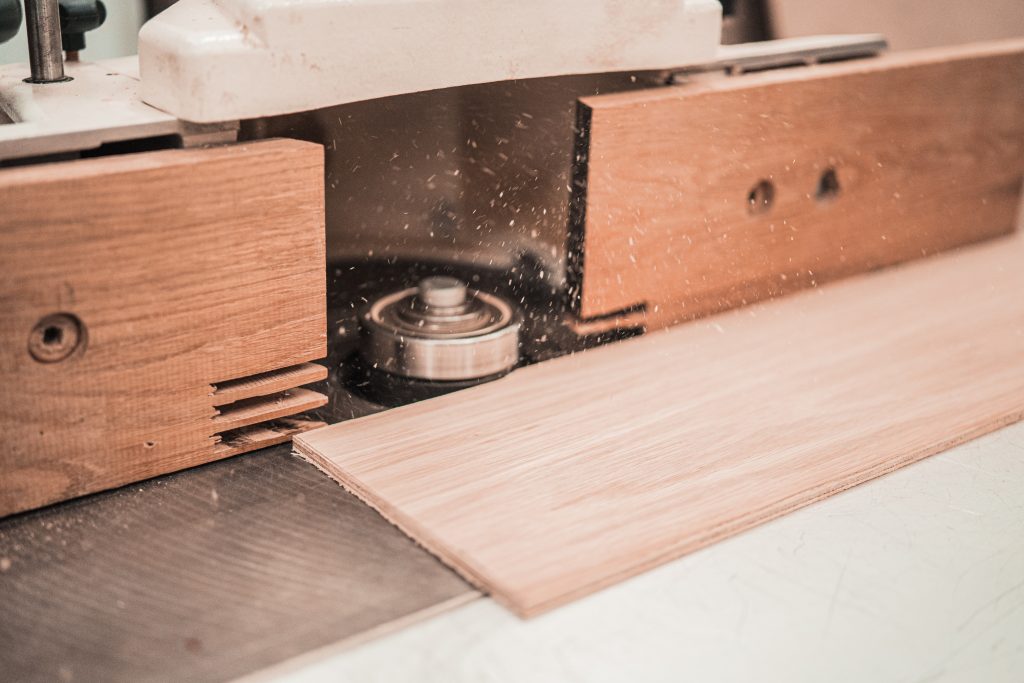
Woodwork Techniques: Wood Cutting
Each woodworker has his method of cutting their woodwork projects. There are different types of wood cutting method. As a woodworker beginner, start to learn skills in woodcutting by learning its different types.
2 Basic Wood Cutting Methods
- Dry Cutting – Cut precisely in the desired thickness in a plank of wood, and it is commonly used in cutting hardwoods.
- Rotary Peeled Cutting – A lumber is boiled and then cut through, peeling into an ultra-thin layer using rotary cut. They are often used in making plywood and other thin woodworking materials for certain projects.

Top 4 Wood Cutting Technique
- Plain – It is the most common method of sawing wood that is also called flat sawn. A piece of timber saw in strips parallel to the growth rings from 0 degrees to 45 degrees. Plain sawn wood boards are commonly used in flooring as it is more stable compare to other boards cut in a different method.
- Quarter – It is cutting lumber in a quarterly manner, and perpendicularly, it is cut at a radial angle, creating a four-quarter in a log. And the annual ring is about 90 degrees. This type of cutting will produce uniform wood boards with similar grain orientation.
- Rift – The least common wood cutting method in woodworking as it is more expensive and tricky. It can be cut parallel or perpendicularly to the growth rings between 30 degrees to 60 degrees. It produces wood boards with a linear grain texture and a slated grain on the wood edge.
- Live – It is the performance of the combined three cutting methods mentioned above. Its annual growth rings are from 0 degrees to 90 degrees, and it produces wood boards with stunning grain orientation. It is a wood board with a combination of cathedral, fleck, and linear wood grain textures. Among all wood cutting methods, live sawn boards are the most stable ones against seasonal changes.
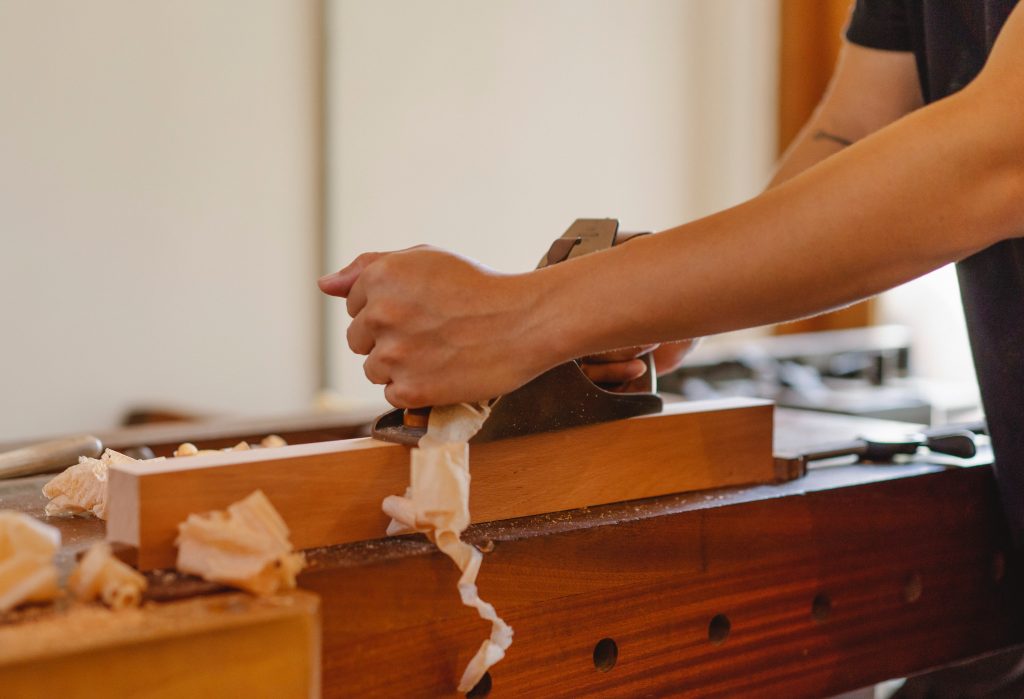
Woodwork Techniques: Planing
A hand plane is one of the most common woodwork tools and is useful for trimming and removing unnecessary lines on your wood boards. Proper use of a plane requires basic skills and practice to make your wood from rough to smooth.
How To Tune A Wood Hand Plane
- Sharpen – Sharpen your wood plane tools depending on your wood types. For general planing work, sharpen your plane at 25 degrees. A few degrees less sharp if you plane a softwood and a few degrees more sharp if you are planing a hardwood.
- Adjustable Mouth – You can adjust your plane mouth according to your woodworking projects. If you are planing a rough wood board – open it at 1/8 inch wide or more. But if you are planing softwood board – open at 1/8 inch less to avoid wood-tearing.
- Chip Breaker – For fine cuts, adjust your chip breaker position at 1/16 inch or less but adding more if you plan for softwoods. For rough cuts, adjust your chip breaker position at 1/16 inch or more but adjust less if you are planing on the hardwood.
- Iron – Adjust your iron to make the sole parallel to the cutting edge and retract the iron when it starts cutting paper-thin wood shaving.
Wood Planing Method
- Smooth Cut – Make a smooth wood board by planing across the wood parallel to the wood orientation.
- Rough Cut – Make a rough wood board by planing across the wood diagonally to the wood grain orientation.
- Uneven Board – Measure your wood surface and determine the uneven part. Then start planning the board diagonally until it is even and flat.
- Twisted Board – Sight your board with winding sticks and mark the higher spot of your wood. Plane your board until the winding sticks are aligned perfectly. Check both your board edge and then plane the edges to make it smooth. Repeat until you had a perfect square wood board.
- End Square Planing – This step needs and extra care to avoid wood tear-out at the trailing edge. Start planing at the leading edge and then proceed to the center of the board.

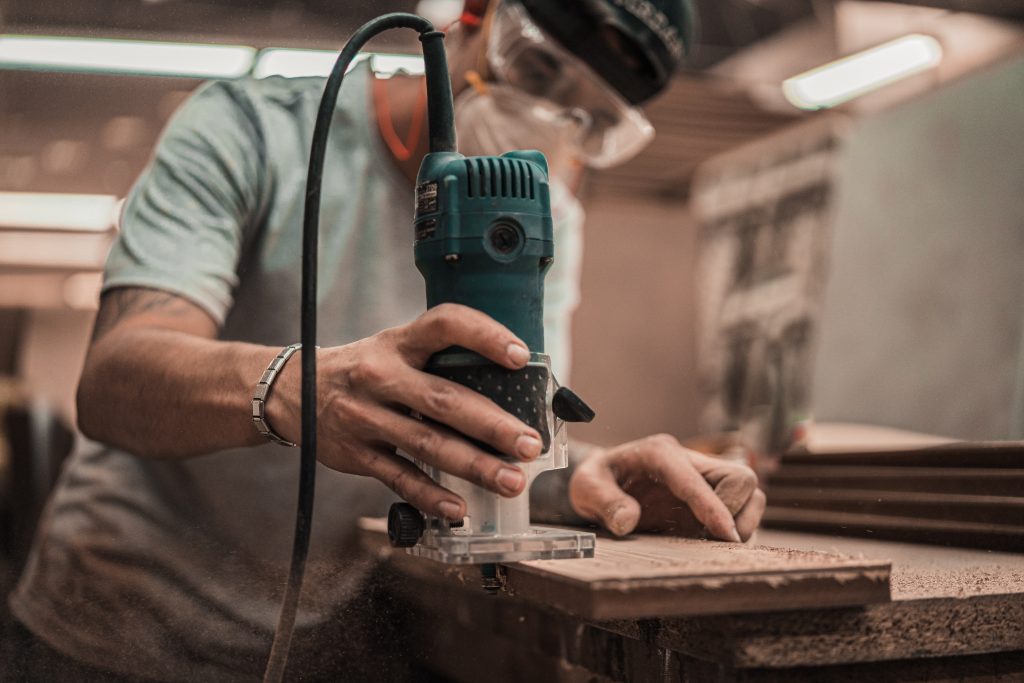
Woodwork Techniques: Drilling
The drill is one of the most common tools everyone needs in their home. It is used in making a hole and installing or mounting any wood projects at home. Expert woodworker uses drill in doing their woodworking projects. As a woodworker beginner, you need basic knowledge of using the drill in drilling holes on your wood board pieces.
Basic Drilling Tips And Technique
- Used a clamp or a vise to steady your workpiece and to prevent it from moving.
- Choose a drill bit that is relevant for a woodworking project.
- Keep your bits sharp and well-maintained for easy drilling function. a
- Create a tiny hole using a nail to make a precise center point for the spot that needed to be drilled.
- If you are drilling on a hardwood, make a pilot hole drilled with a smaller drill to make it easier to drill.
- To avoid possible wood cracking while drilling, stuck a tape on the pilot hole to reinforced your wood.
- When drilling, start at a low speed to keep your mark on the center point and then speed up.
- When drilling hardwood, you need to protect your drill from overheat. Keep it cold by dipping it into cold water from time to time.
- The drill starts to lug when the debris is store inside, allow the bit to clean the debris by withdrawing the drill.
- When drilling a hole from one edge to another wood edge, drill a hole from both sides to make smooth work finished.
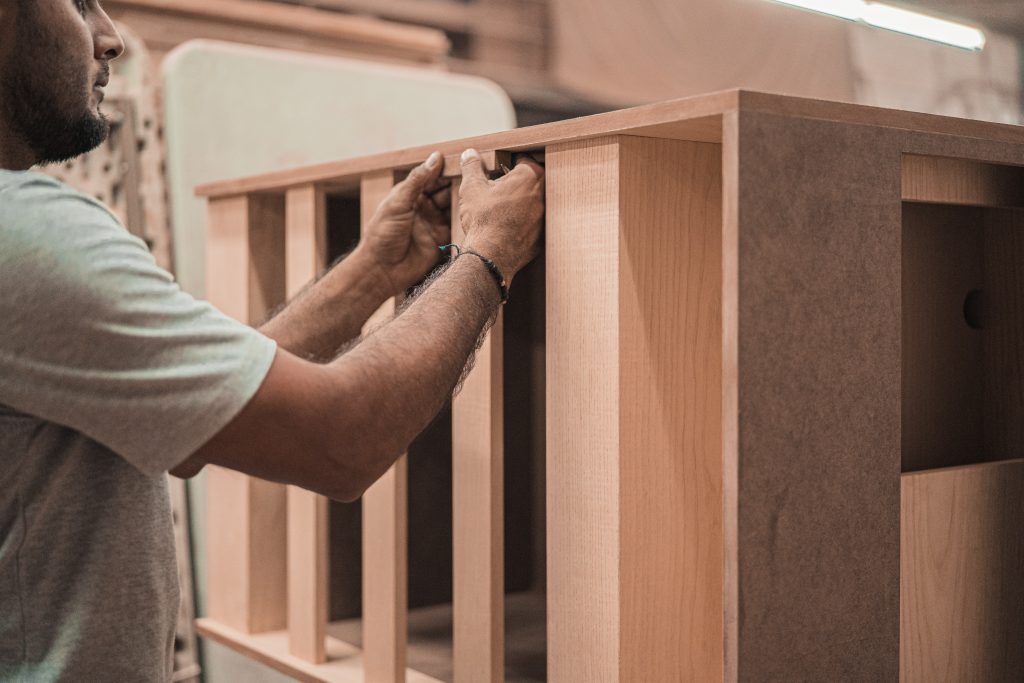
Woodwork Techniques: Joinery
Joinery is one of the most basic skills woodworkers should have. It is a skill to join two pieces of wood together, making woodworking joints using woodworking tools. There are different types of wood joinery skills depending on the woodworking project.
Different Types of Wood Joints
Butt Joint
Two pieces of wood glued together at a right angle on a corner of the wood board or the edge of the wood. It is joined together through mechanical fasteners. It is a type of wood joint typically used in wall framing if different woodwork projects.
Miter Joint
A kind of wood joints cut at a 45 degrees angle and used to form a perfect wood corner.
Dado Joint
An edge of the wood board is glued to another panel, specifically in the board’s middle part. Most popular types of wood joints are used in a bookshelf, cabinet-making, and other woodworking projects.
Dovetail Joint
It requires series of wood cuttings in a small trapezoid shape and is joint together. It requires accuracy to make a perfect match of tails. Dovetail joints are commonly used in boxed shape woodworking projects to avoid joints from pulling apart.
Box Joint
It works as an alternative joint for more complicated dovetail joints. Instead of cutting in a trapezoid shape, cut your wood by making a small box series. You can then glue them together with woodworking glue.
Biscuit Joint
A type of wood joinery that is glue together along the wood edges by cutting small slots on the wood board. Using a tiny oval-shaped “biscuit” fitted on the slots to hold your wood board in place. It is a perfect joint for edge-to-edge joinery in woodworking, especially in cabinetry.
Mortise And Tenon
It is the most classic and the strongest common method among all types of wood joints. Consist of two wood board with a different cut connect to form joints. The mortise is a woodcut using a chisel or a router by creating a hole, while the tenon is a wood board with a cut to fit on the mortise as an adjoining piece making strong joints.
Woodwork Techniques: Sanding
Woodworking machines can cause mill marks, dents, and scratches on your board. You can smooth your board “imperfection” by sanding with the right woodworking sand tools. Learn sanding skills and improve your woodworking projects.
Top 3 Sanding Methods
- Hand Sanding requires more time done sanding with a power sander, but it is often applied when a power sander tool can’t reach a certain part of your board surface.
- Block Sanding – Sanding within a block sander is known to be a better way than sanding by a hand. It produces better results with less effort. It creates better pressure on your board, making it a more even and flat surface.
- Orbit Sanding – Itis the most efficient way of sanding as it is easy to use and will make your woodworking journey easier. You can slowly and lightly move it around on your board surface to avoid unnecessary marks on your board. You can then start sanding by hand to make your board even smoother.
Woodwork Techniques: Finishing
Your wood project can dry, cracked, and deteriorate without a finish when exposed to different damaging factor-like moisture and humidity. Protect your wood project surface with a finish like shellac, varnish, or paint.
Top 4 Finishing Tips
- Sanding – You can create a finishing touch on your board by sanding its surfaces. You can use either hand sanding, block sanding, or a power sander like a random orbit.
- Staining – Your board color varies depending on its lumber type. By adding a stain on your board as a finish, you can highlight your grain orientation and change your board color according to the color you desire. You can choose from a natural oil finish, oil-based gel stain, and a stain paint finish.
- Conditioner Finish – Sometimes woodworking board absorbs stain finish unevenly, resulting in blemishes and dark blotches. By applying a condition as a finishing touch before applying stain finish, you can prevent your board grain from absorbing excessive stains.
- Painting – For a woodworking project with a glass-smooth result, you can apply paint as a finishing touch. Instead of using a paintbrush, used a paint spray or aerosol spray for the final touch. It will produce a professional-looking finish woodworking project with a paintbrush.

Decorative Woodworking Project Techniques
Aside from learning general woodworking skills, you also need to learn basic decorative skills in woodwork. In woodwork, you need to learn basic decorating skills like carving, specifically in furniture and framing.
Carving – It is an essential decorating skill in woodworking where a woodworker can use their imagination to create different designs. A woodworker can engrave a carving on their woodworking projects like a door, dresser, furniture legs, and cabinets. You can find different carving patterns over the internet.
Lathe Turning – It is a process where furniture legs like a wooden chair are shaped through a lathe by turning. Aside from the wooden chair leg, lathe turning can also be applied on cupboard pillars, table legs, and other furniture with twisted designs. With lathe turning, you can enhance your woodworking project appearance making it stand out among others.
Marquetry – Woodworking skill to assemble a veneer to create a finishing design, painting, and adding a decal on woodworking furniture.
With these woodworking tips and techniques, start your woodworking projects today.
Would you like to learn how to build your woodwork shop? Read here!